Painting a bike may seem like a daunting task, but it doesn’t have to be. It’s actually a 70% prep and 30% paint job.
In this article, you will find how to spray paint your bike, step by step, so that you get the best results.
1. Disassemble the bike completely
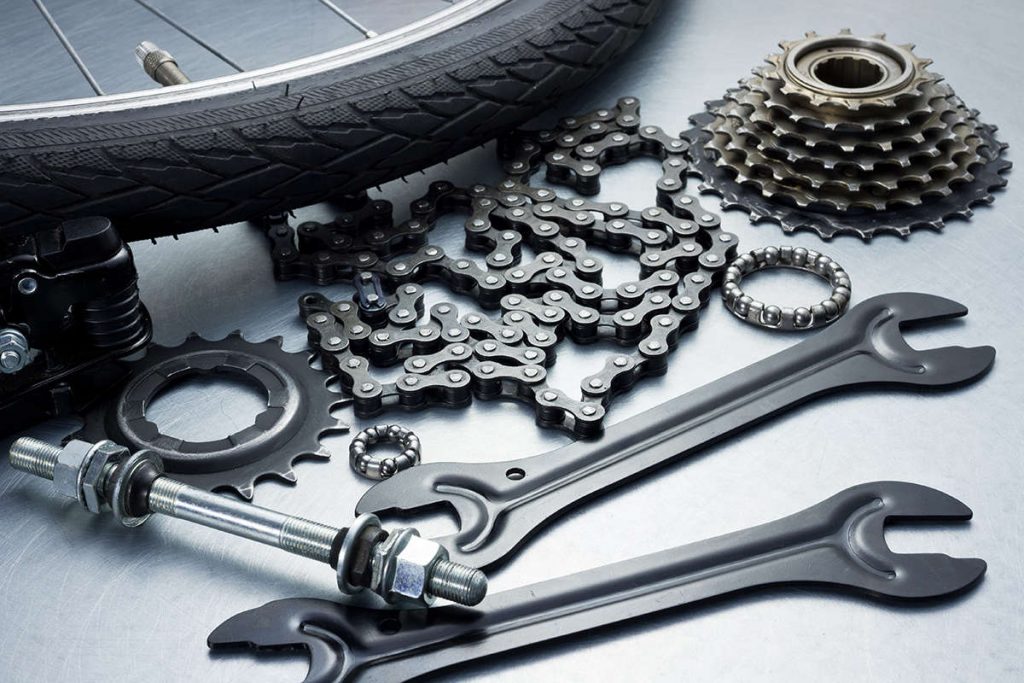
The first step is to take the bike completely apart. For this, it will be necessary to remove all parts and hardware, including wheels, stem, seat post, and center axle. Remove all the components of the transmission and braking systems, as well as any accessories that you have installed on your bike, such as bottle holders, bike computer, mounts, etc.
Remember to always use the right tool to do the job and avoid damaging any part.
It is advisable to disassemble the bicycle in a certain order. Try to group all the pieces together with their corresponding screws so that nothing is lost and it is easier to put the bike back together after finishing the paint job.
Tip: If necessary, take photos and/or label the pieces as you take them apart. This will make it easier to reposition all components correctly.
2. Remove stickers and labels

The next step will be to remove all types of decals or labels from the frame. Generally, it will be enough to remove them by hand and with the help of a tool such as a knife.
However, in some cases the decals can be very adhered to the bicycle frame or frame. In these cases it is recommended to apply a little heat directly to the decal to loosen the glue. You can use a hair dryer or, failing that, a lighter.
Once you’ve peeled off the decal, make sure no adhesive residue remains. Use a cloth with rubbing alcohol (or some other non-residue degreaser) or a little soapy water as needed.
3. Remove old paint
The next step is to remove the old paint and to achieve this there are two commonly used procedures.
Paint removal with sandpaper
The first, and less polluting, is to sand the frame. For this, it is recommended to start with a coarse grit metal sandpaper from 50 to 80.
To achieve a finer finish, finish the sanding process with 1,000 to 1,500 grit paper. Remember that the more meticulous your work, the better results you will get.
Tip: If you have access to an electric sander the work will be much easier and faster.
Paint removal with chemical solvents
Another method is the use of chemical paint removers. It requires less physical effort, you have to let the product do its job. However, these types of products are more aggressive to the environment.
For this method you will need to apply the remover with a brush and apply an even layer over the entire surface of the painting. Then you have to let it act for 15 to 20 minutes (according to the instructions of the product you use).
After the indicated time, you will notice how the old paint begins to crack and lift from the surface. At this time you can remove the paint with a spatula or with a metal fiber. In some cases it will be necessary to repeat the process.
Tip: Be very careful not to splash your skin, cover your eyes with goggles and apply in a well-ventilated place.
Some recommend combining both methods. As a first step, sand the surface of the frame as well as possible and leave the chemical stripper only for those places that are difficult to access, such as the welds between tubes.
4. Clean and degrease the frame completely
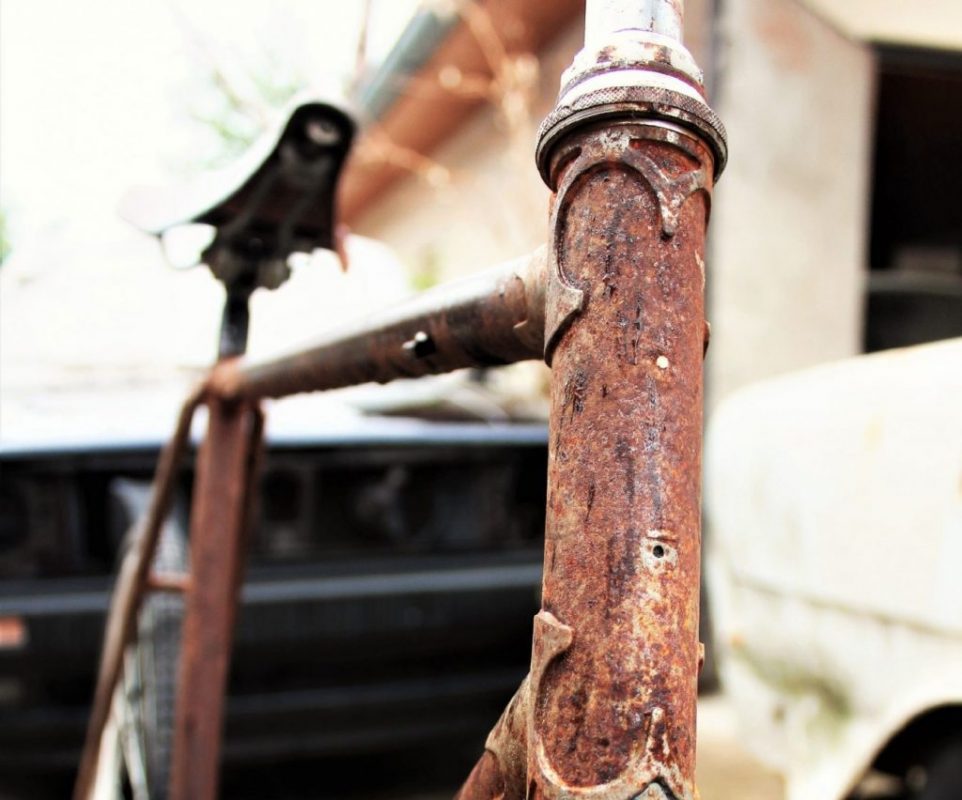
Once you have removed the pre-existing paint and before starting to apply the new paint with the spray, make sure your frame is free of dust, grease, or rust.
To degrease the frame, it is advisable to clean it with isopropyl alcohol or some other product with degreasing properties (avoid white spirit because it is greasy). At any given time, you can also use soapy water making sure that the frame is perfectly dry.
In either case, always use a lint-free cloth. An old towel or any type of cotton cloth will be good for the job.
If you discover rust on the frame, you can sand the area to remove it.
5. Mask the areas you don’t want to paint

Once your painting is completely clean and free of dust, rust, and grease, it is time to cover the areas that you do not want to paint with masking tape.
First you have to start with the parts of the painting that you should never paint, such as:
- The inside of the seat tube
- Inside of the bottom bracket shell or center axle
- Bearing surfaces
- Brake posts
- Screw holes
- Etc.
If you have a design in which you combine colors, you should cover the parts that are of a different color than the one you are going to apply first.
6. Prepare your work area
The work area will be the place you designate to paint the bike. It is important that you choose a well-ventilated place, or even an open place, with enough space to be able to walk around the frame (or turn it around) and spray at a suitable distance.
It is worth using a canvas spread on the floor and cover the objects around to avoid staining them with paint.
There are two recommended methods of holding the frame and fork for good results when spray painting a bicycle.
Hang the pieces
One is to hang the painting or hairpin from its ends. In the case of the frame, you can hold it by passing a wire or cord through the head tube. If the seat tube of your bike uses a through bolt to press the seat post, you can hold it on to keep the frame more stable.
Find where to firmly hang the pieces to be painted, it can be a beam, crossbar or board, even from a tree branch.
The goal is to hang the bike frame where you can easily walk around it and paint all the sides with ease.
Hold the picture
If you don’t have the means or the space to hang the painting, you can mount it on a table or surface that is the height that is comfortable for you.
Use a broomstick or tube that you can feed through the head tube.
Clamp the tube or stick on the work table so that the painting is suspended in the air and you can access all its sides for easy painting.
If you have a stand to repair your bike and you don’t mind getting paint-splattered, you can use a seat post to hold and spray paint your bike.
7. Select the paint for your bike
In this article, we focus on how to paint a bicycle with spray paint in a can. If you have a compressor and gun to do the job, the above steps will undoubtedly help you.
The first step is to go to a store or online and look for spray paints for specific use on metal. Once you have identified the line of paints that you are going to use, review the entire range of colors and finishes. This will help you define the new paint design for your bike.
Do not combine types of paints or brands, as each brand formulates its product differently and the mixture between brands can have unfavorable reactions in the paint finish.
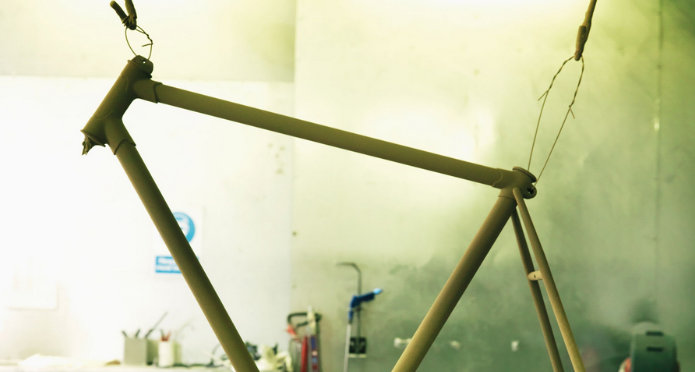
8. Paint your bike
Now you have everything ready to start painting your bike.
To achieve a better finish it is recommended to apply the paint in several layers. Don’t try to cover everything the first time, as this can lead to an uneven finish.
The proper technique for painting your bike is to use long, steady strokes when spraying the spray. The recommended distance can vary from one brand to another, but is between 30 cm from the valve to the surface of the frame.
Apply each coat in a back and forth motion, taking care to press the valve evenly along each stroke. What you are looking for is to achieve a good spray of the paint, so make sure your hand is already in motion before pressing the valve, so you will avoid drops on the frame.
When you finish each coat, allow it to dry completely. In the paint can, you will find the recommended time that you should let it dry, before applying the next coat.
Repeat for each layer you want to apply. Typically three coats of paint will do the job. It depends a lot on the color that is being applied. Some light and bright colors even require the application of a previous background to make the color stand out.
9. Apply clear lacquer
To finish the painting process of your bike, the application of a clear lacquer is recommended. In addition to protecting the paint, it adds shine and a professional finish.
It is recommended to apply three coats for best results. Before applying the clear lacquer, make sure that it is the finish you are looking for and that it is the same brand and line as the paints you used.
10. Assemble your bike
Once you’ve finished the paint job, let the painting dry in a dust-free place for a minimum of 24 hours.
After this time has elapsed, remove the masking tape, check that there are no details to touch up and reassemble the bike.
There are thousands upon thousands of color and finish combinations to style your bike . It all depends on your imagination and using the right materials to achieve it.